Loading...
Skip to article
  • Customer Experience
    Customer Experience
  • Employee Experience
    Employee Experience
  • Brand Experience
    Brand Experience
  • Core XM
    Core XM
  • Design XM
    Design XM

Adding & Removing a Dashboard (EX)


Was this helpful?


This site is protected by reCAPTCHA and the Google Privacy Policy and Terms of Service apply.

The feedback you submit here is used only to help improve this page.

That’s great! Thank you for your feedback!

Thank you for your feedback!


Qtip: This page describes functionality available to Engagement, Lifecycle, Ad Hoc Employee Research, and 360 projects. For more details on each, see Types of Employee Experience Projects.

Adding a Dashboard

Attention: You can only create 15 dashboards per project. This includes dashboard copies. After you create 9 or more dashboards, the dashboard creation window will start to warn you how many dashboards you have left to create before the ability to create or copy dashboards is disabled in the project.
  1. Navigate to the Dashboards tab.
    Create Dashboard button in the center of the Dashboards tab (because no dashboards have been created yet)
  2. Click Create a dashboard.
  3. Type a name for your dashboard.
    Create Dashboard window where you define name
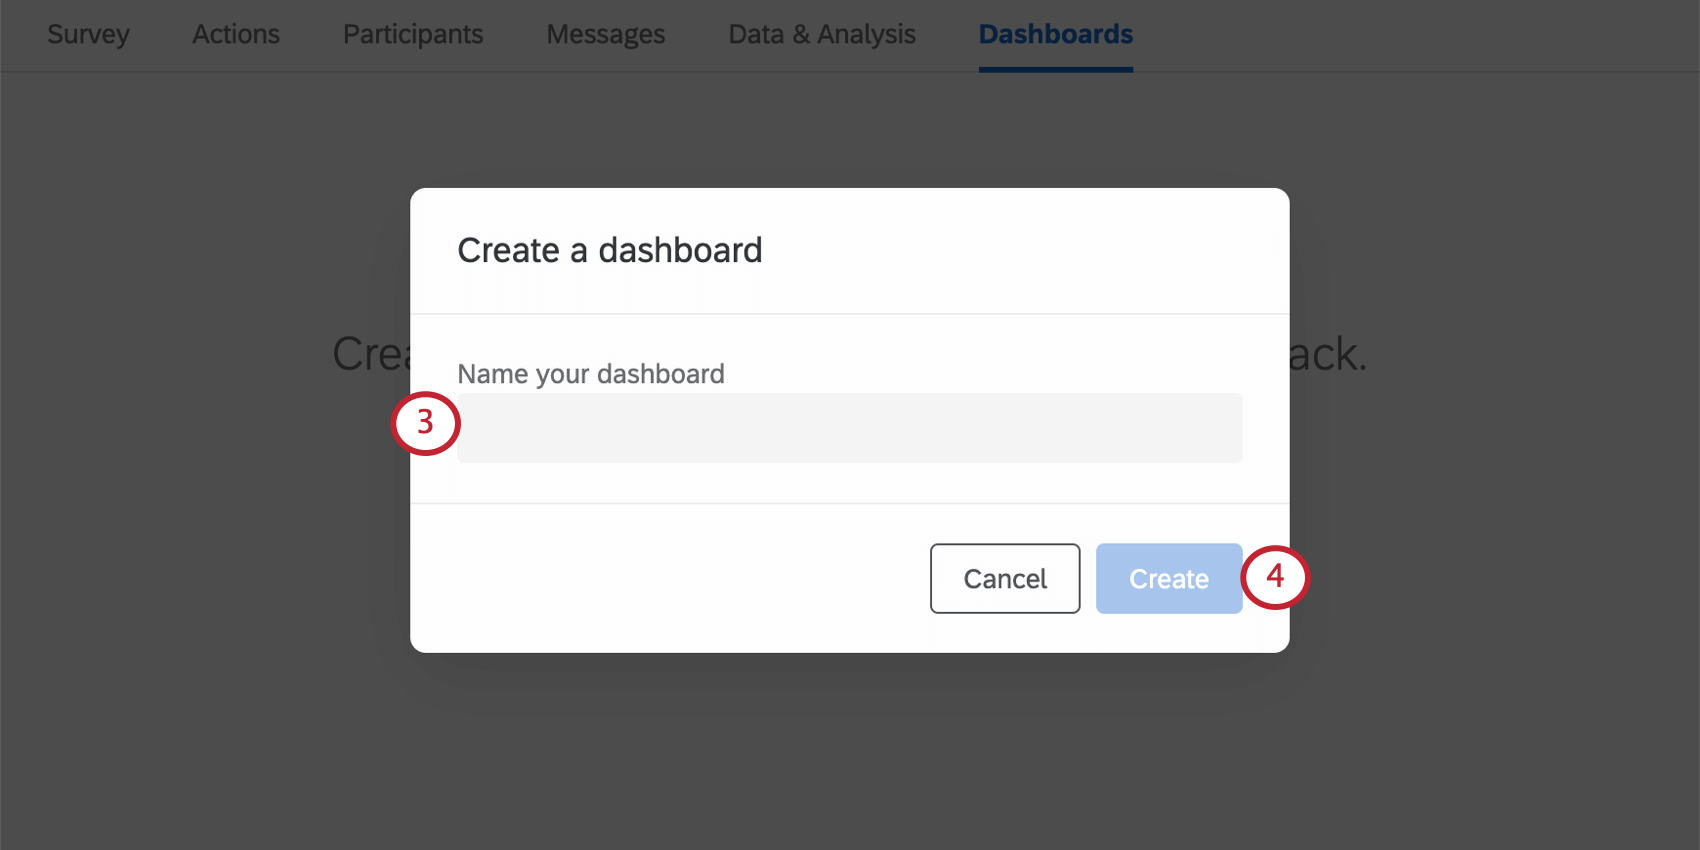
  4. When finished, click Create.

Removing a Dashboard

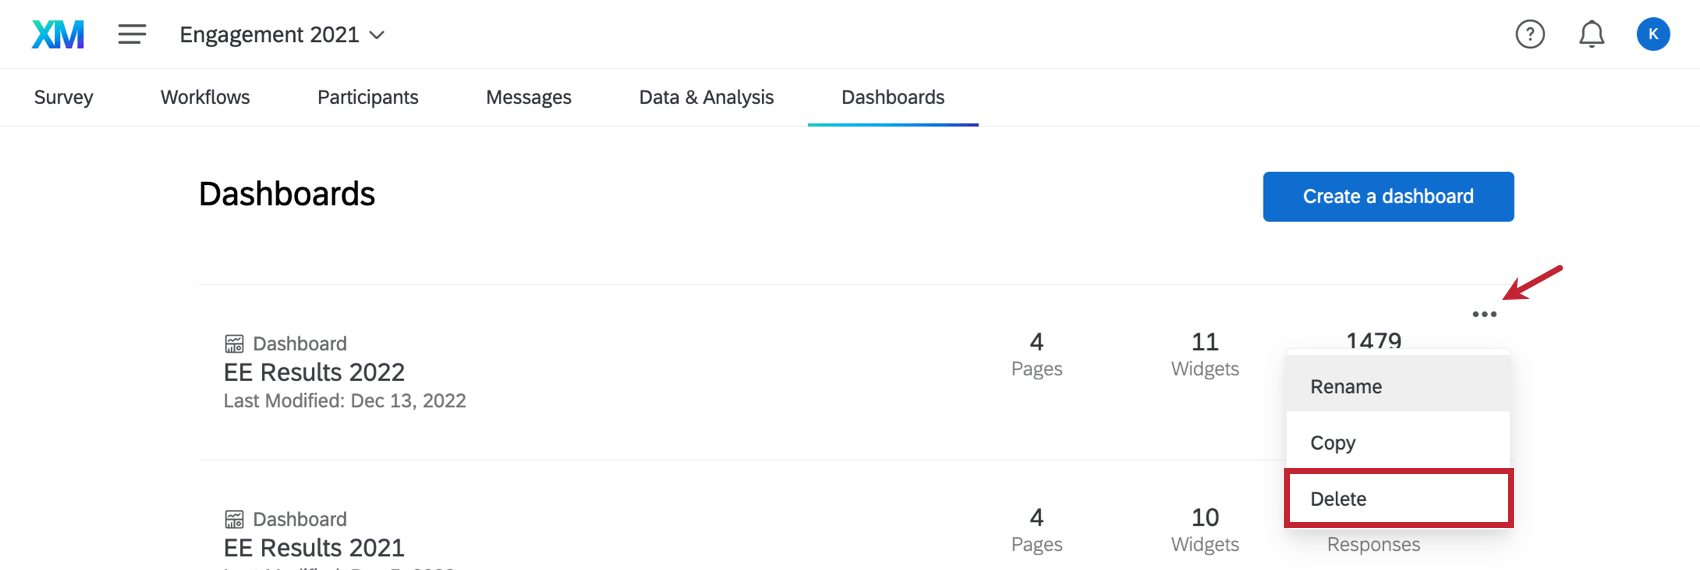
You can delete a dashboard by clicking the dashboard dropdown menu next to a dashboard and selecting Delete.

Warning: Do not do this unless you are absolutely sure! Once a dashboard is deleted, it cannot be recovered.

Dashboard actions dropdown Delete option

Copying a Dashboard

Have you ever wanted to add a second, similar dashboard, without starting from scratch? Have you ever wanted to use a duplicate dashboard for testing? You can duplicate a dashboard’s pages, widgets, and all other settings.

  1. Click the dashboard actions dropdown.
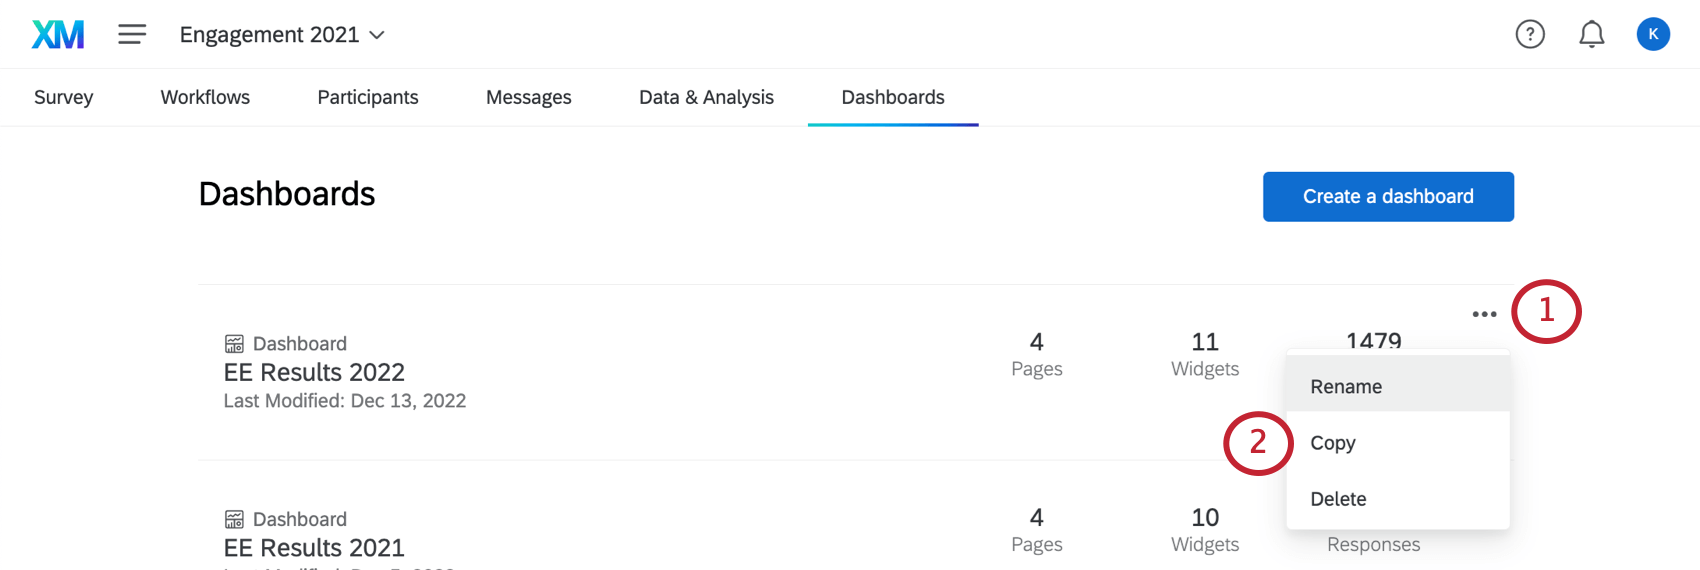
    Dashboard actions dropdown Copy option
  2. Select Copy.
  3. Name your dashboard.
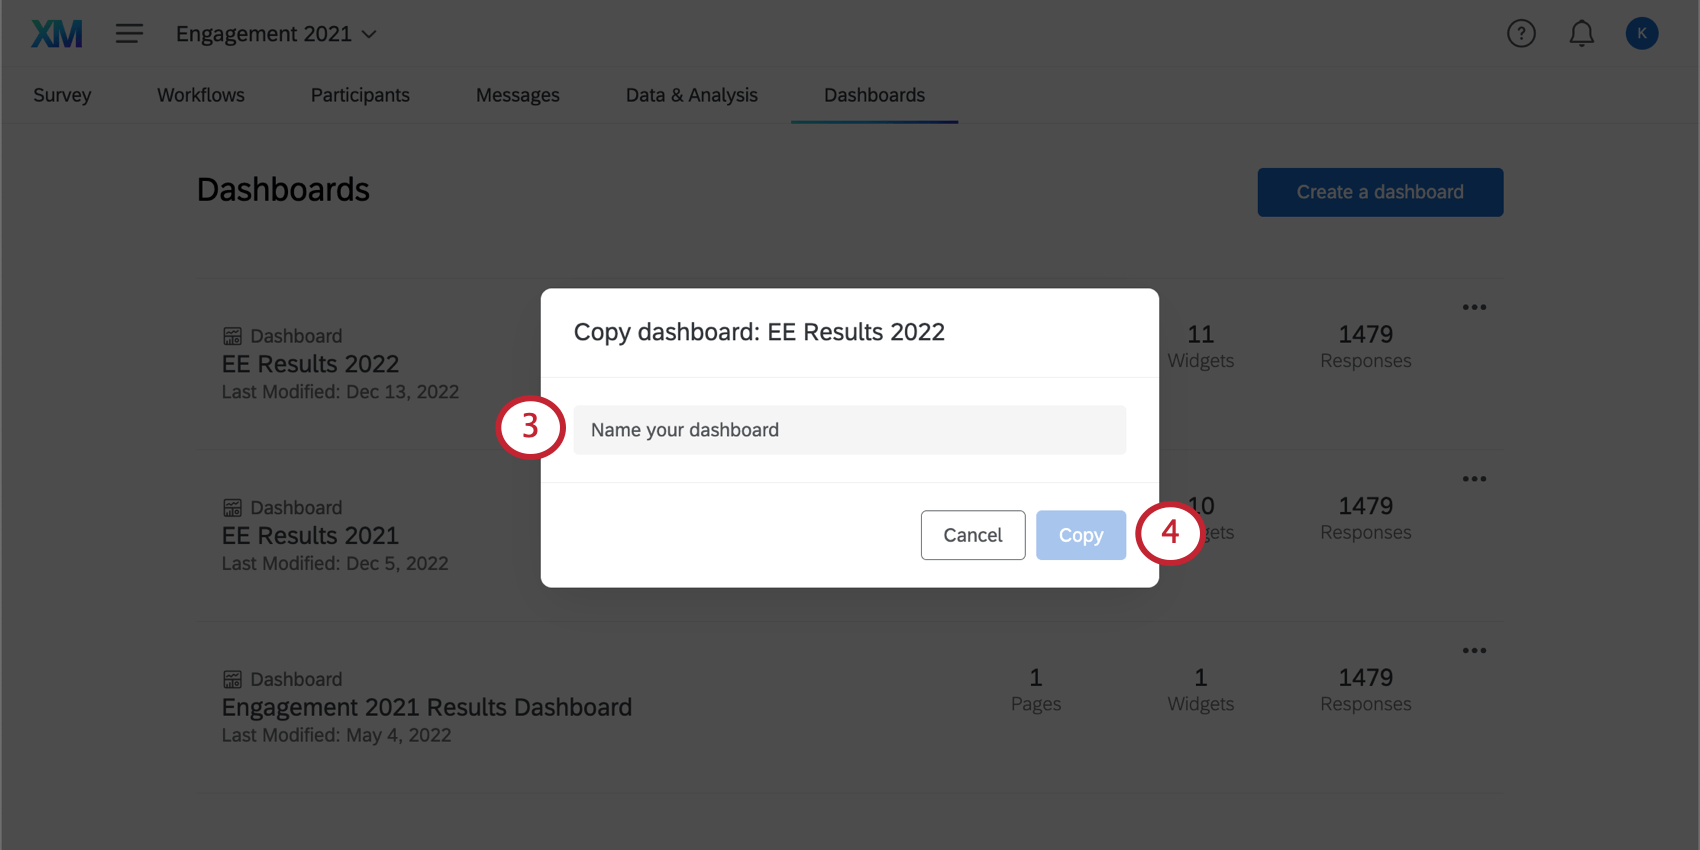
    Naming a dashboard
  4. Click Done.

Dashboard Viewing Permissions

When you copy a dashboard, you also duplicate dashboard role permissions. However, the dashboard isn’t activated; you must manually enabled the Activate Dashboard permission.

Example: In the screenshot below, this role gave members the ability to access to Company Dashboard 1. When Company Dashboard 1 was copied, participants in this role were automatically given access to Company Dashboard 2 (the copy), too.

A role. On the far-right, dashboard permissions are listed

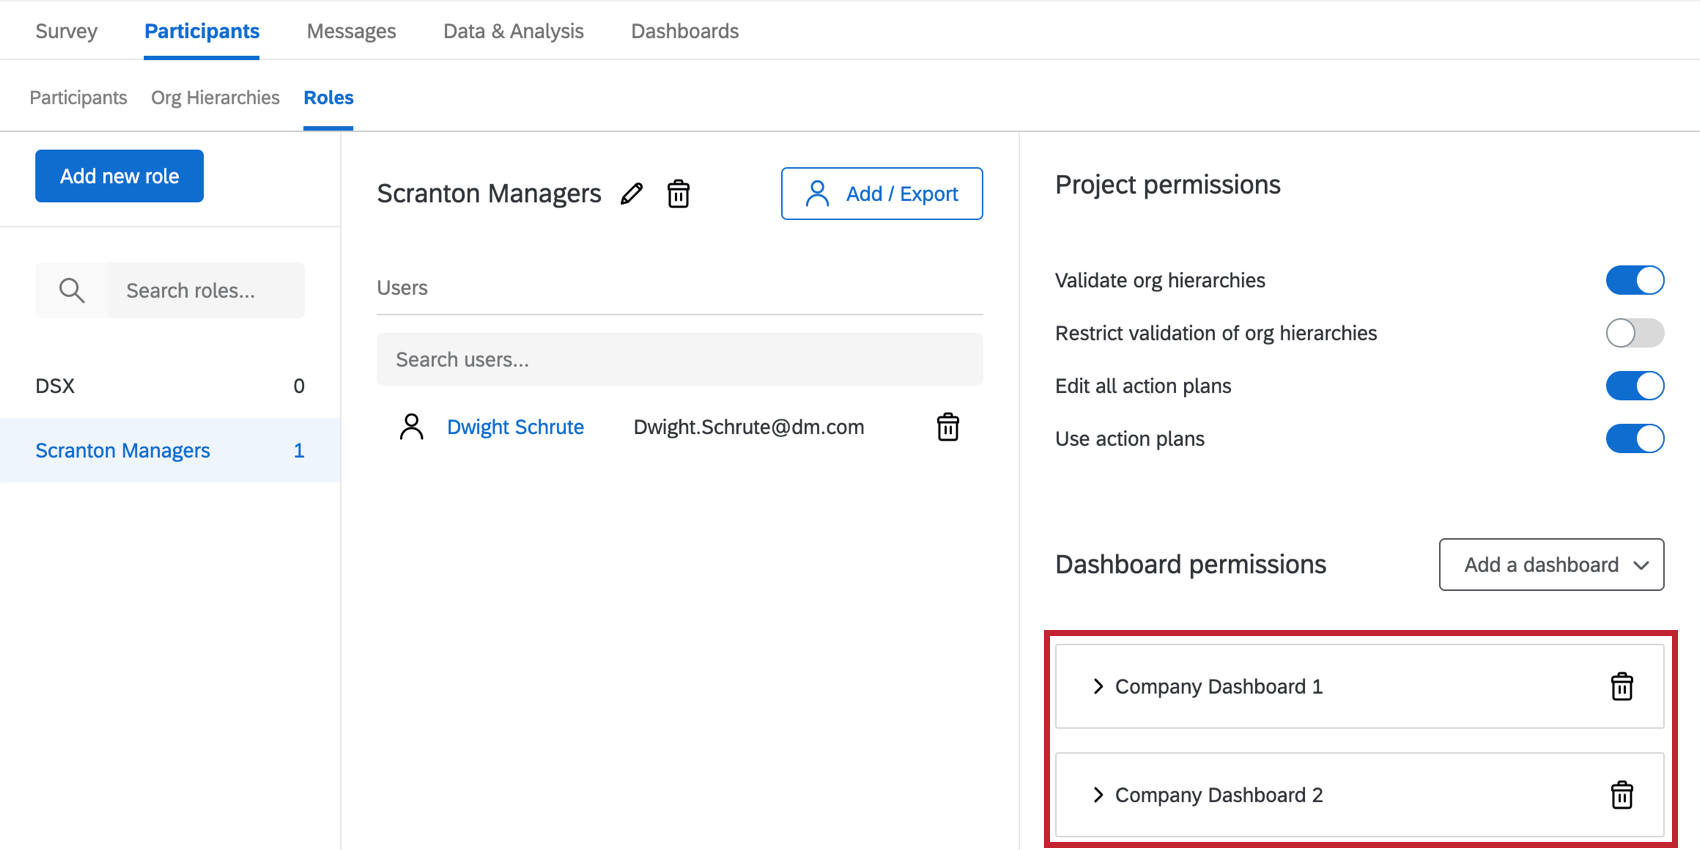
Copying a dashboard does not copy user-level access!

Example: If you give John Doe user-level access to Company Dashboard 1, then copy this dashboard, John Doe will not have access to the copy.

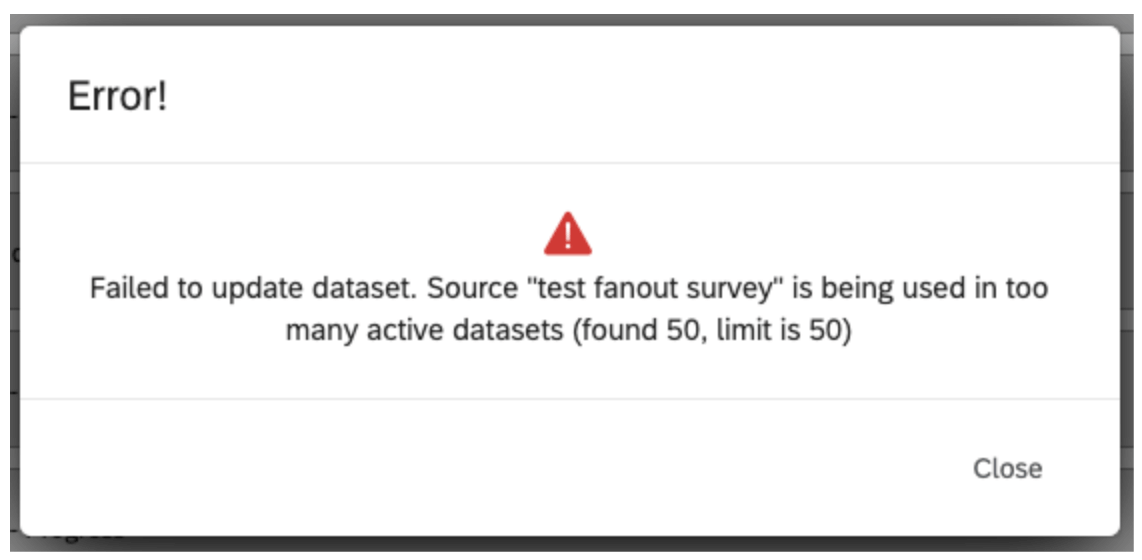
Dataset Utilization Limits

Our data platform imposes a limit on the number of times a single data source can be used in active datasets.  Currently, a single data source can only be in 50 active datasets to guarantee timely data processing. For external data, the limit is 5 active datasets. These limits are subject to change over time as our platform and features grow.  If your datasource reaches this utilization limit, an error dialog is displayed while adding the source in the data mapper or copying the dashboard.
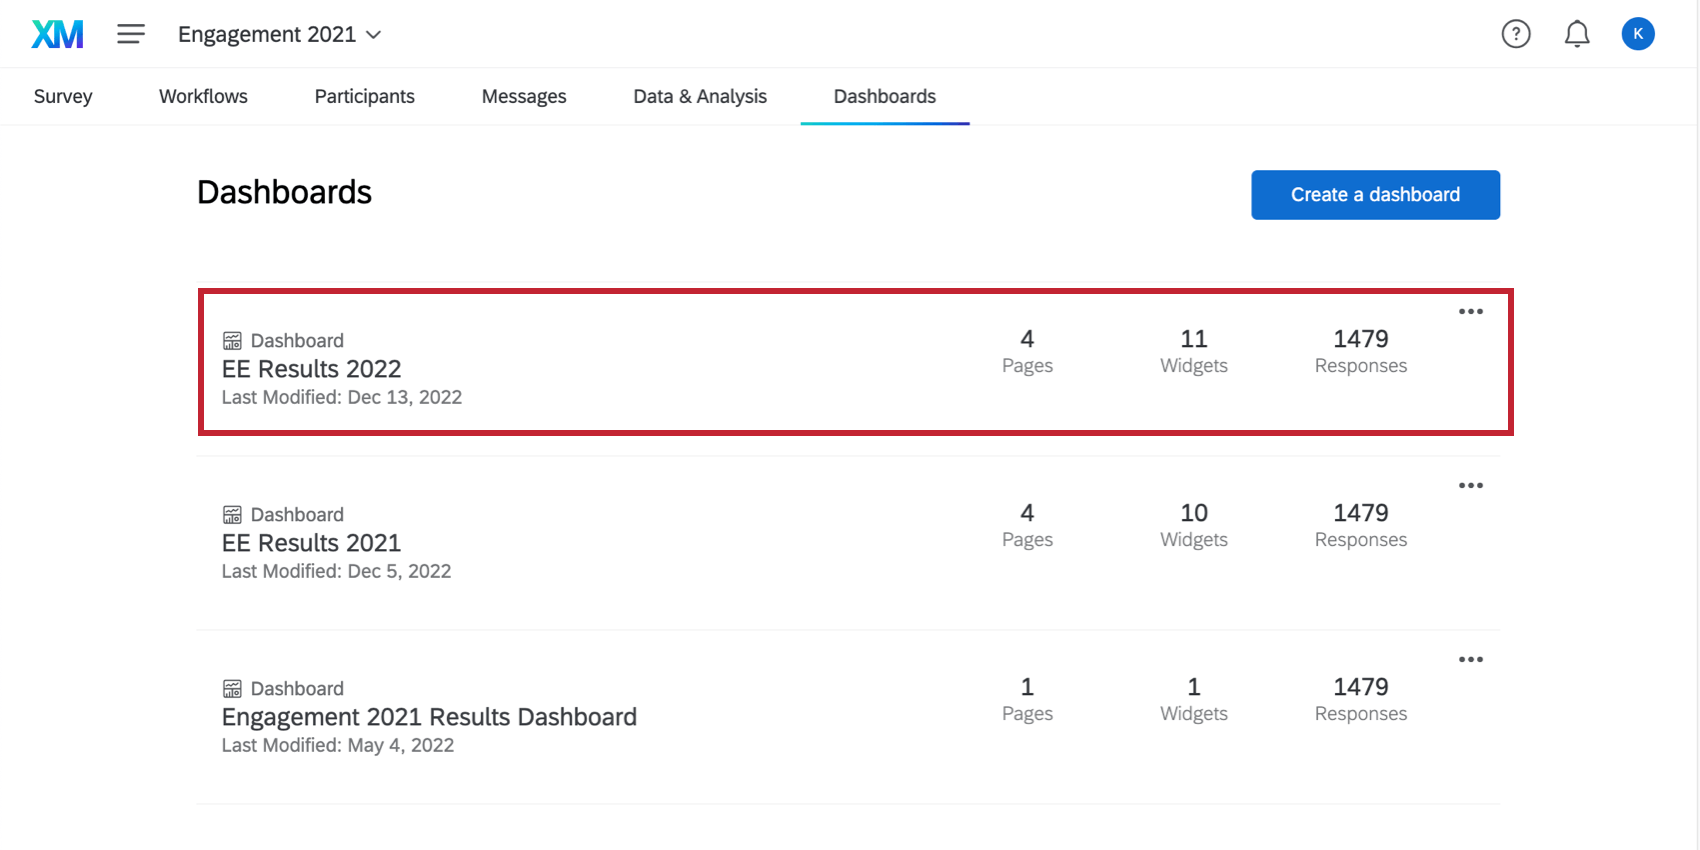
the error message received after trying to use a data source in more than 50 active datasets

Qtip: For example, a survey used in two dashboards creates three active datasets (1 for data & analysis in CoreXM, 2 for dashboards EX). An active dataset is a dataset that has been accessed within 30 days.


Additional Options

Each dashboard listed on the Dashboards tab shows the number of pages, widgets, and responses it has.

You can access your dashboard and start editing by clicking anywhere on it.

That banner that represents the dashboard on the Dashboards tab is highlighted, with the exception of the dropdown menu dots

Qtip: If you’re having trouble viewing the dashboard, make sure you’ve added yourself to the project and given yourself permission to view the dashboard.

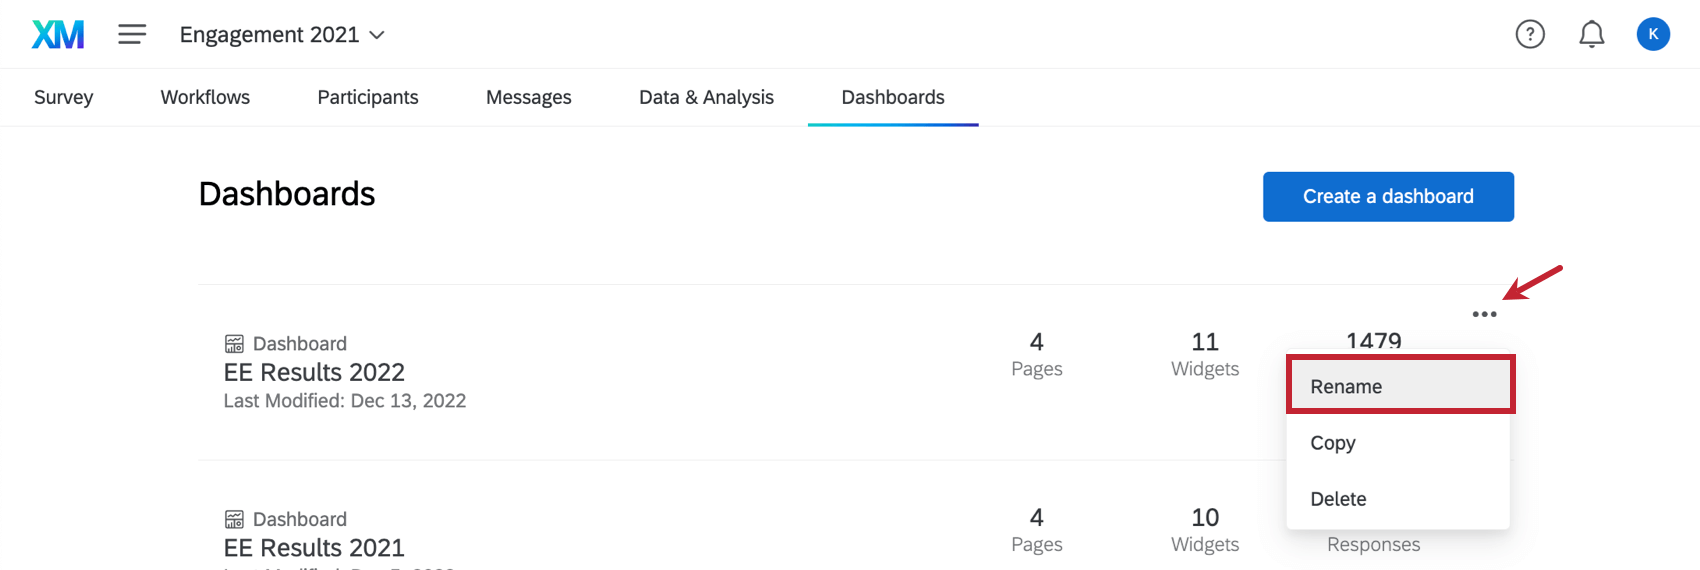
You can change a dashboard’s name by clicking the dashboard dropdown menu next to a dashboard and selecting Rename.

Dashboard actions dropdown Rename option

Qtip: Ready to start editing your dashboard widgets? Check out our Dashboard Overview page.

FAQs